Container Gardening
Growing in Pots: 9 Secrets to Successful Container Gardening

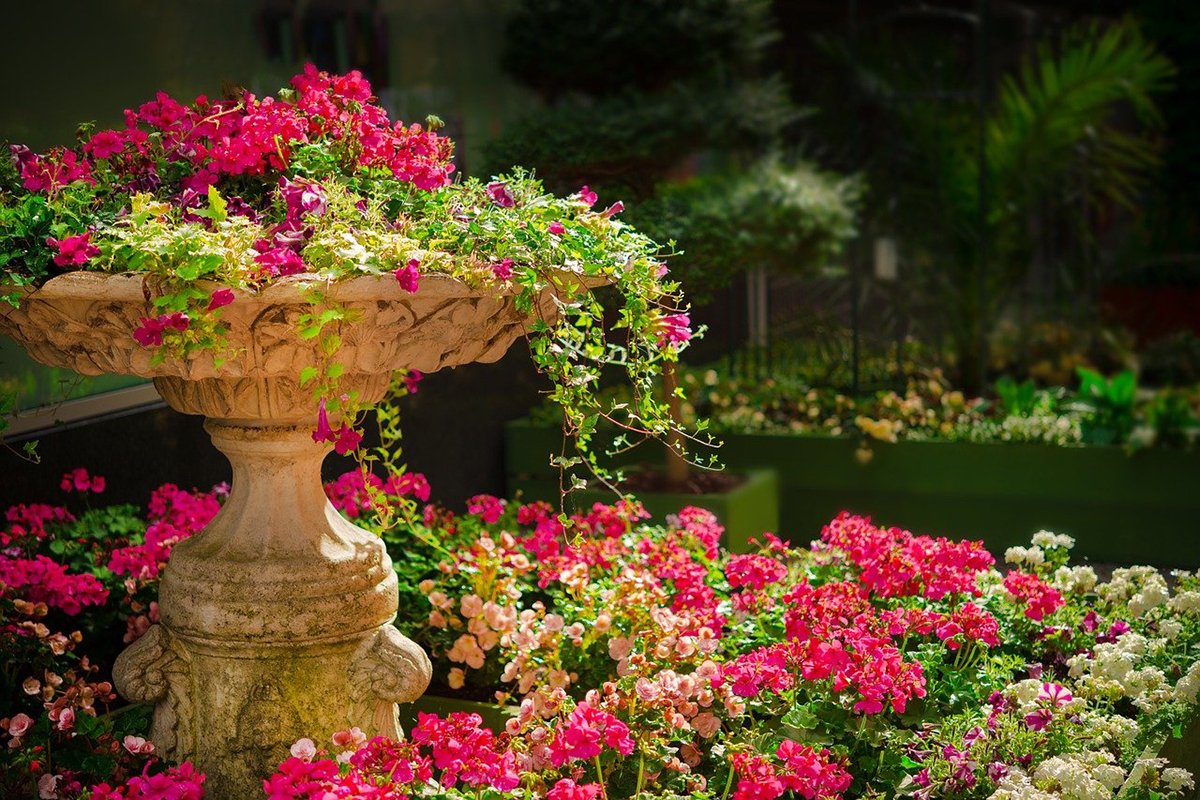
Growing your container garden is a fun & easy way to unleash your creativity & add some color to your outdoor space. The best thing is that container gardening is not limited to a balcony garden. You can have your container plants anywhere like patios, walkways, front doors, decks, etc.
Container herbs are your saviors when you want to grow your food but are tied up with limited time & space. You can grow anything from a mini-farm to a specimen tree with the right pot, soil, and place.
You have endless choices when it comes to container gardening. Railing baskets, fish tanks, cedar boxes, half barrels, resin pots, storage totes, and even kitchen sinks can grow vegetables. Below are some secrets to growing these versatile plants successfully.
Choose the Right Container/Pot
Your container should have adequate drainage. When you water your plant, the water should quickly move through the soil & effectively out of the hole in the bottom. The herb may suffer when the water sits in pots after heavy rain or simple watering. So having suitable drainage holes are necessary.
The growth of the plants largely depends on the soil mass as well. Small hanging baskets of 10-inch are tempting but they are quite inefficient to grow a healthy plant. Hangers with at least 14 inches of diameter are preferable.
Be Location-Specific
Some plants require sunlight, and some don’t. For instance, plants like Bromeliad, Chinese Evergreen, and Dumb Cane don’t need sunlight to grow. It’s essential to put the pot in the blazing sun only if it helps with the herb’s growth. Try to know the amount of sunlight your plant requires and place the pot accordingly. That is a prime requirement for the health of your plants.
Feed the Right Soil Mix to Your Plants
If you fill the containers with garden soil, your plants will deteriorate. Your containers must contain lightweight and well-draining potting mix. A 50-50 blend of compost and potting mix is advisable, as the former will add nutrients and hold the soil moisture.
You can mix a slow-release fertilizer in your potting mix and continue doing the same every week. It will also give the plants the nutrients they need to grow.
Water Your Plants
Water is the most significant ingredient required by your plants, especially rainwater, it is warm, soft, and charged with oxygen. Ensure that you allow the container soil to dry between watering.
Watering is also necessary because after the water transpires through the plant, its space in the soil is replaced with oxygen-rich air.
Only Good Neighbors Should Stay Together
When you place multiple plants in one pot, you should consider if they will be good neighbors to each other or not. If you place multiple plants in one pot, they should require the same amount of water, sunlight, and moisture. Plants with different needs will not thrive together.
Read the Tag
Tags are crucial to know all about your plants. They will inform you about the needs of your flora, such as how much food, water, and light is required. It will help you provide them with everything it needs in optimum quantity.
Tags will also inform you about the structure, growth rate, shape, etc., which will help you arrange the combinations depending on the container designs.
Fertilize Well
It’s vital to know that container plants require more nutrients than garden ones. The high need for nutrients is due to the soil volume in the roots. Markets are filled with fertilizers that are organic or synthetic.
You should choose the one your plant needs depending on the tag. You can get to know about it through a quick internet search, or you can ask the salesperson as well.
Remove Dead Flowers
Removing the dead flowers will restore your plant’s energy and make the soil healthy. Along with improving the look of your plants, it will help grow more flowers, leaves, fruits & vegetables.
Get a Cure for Pests
Flower buds & leaves can be damaged when pests start to take place in your well-maintained plants. Snails, slugs, earwigs are just some of them. You should recognize the pest based on the trails and then remove them. For instance, slugs often leave a slime trail.
You can peel off the slugs easily & remove them. You can also spray insecticide directly on the insects (not bees and ladybugs). Just give the leaf-top and bottom a good drenching, and you are good to go.
Conclusion
These easy steps will take you one step ahead towards having the perfect container garden. It will give a colorful and aesthetic look to your home and the many health benefits that comes along.

Greenhouses
How to Protect Your Garden and Greenhouse from Extreme Summer Heat: The Complete 2026 Survival Guide
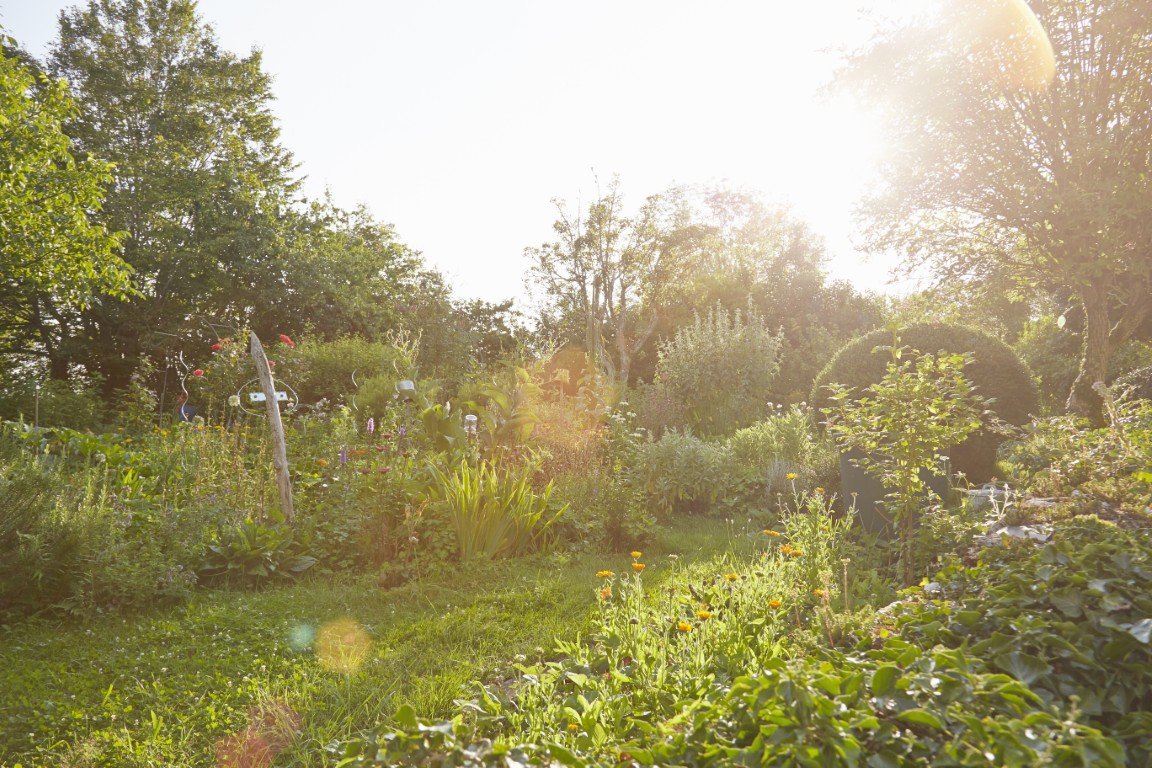
Why This Summer Is Different
If you’ve stepped outside this July and felt like you walked into a wall of heat, you’re not alone. Across much of the country, summer 2026 is shaping up to be one of the hottest on record — and gardens are feeling every degree.
According to Utah State University Extension, gardeners this month should be focused on one thing above all else: helping plants survive rather than expecting them to thrive. “Start enjoying the tomato harvest. Fertilize potatoes with nitrogen in early July. Harvest summer squash and zucchini while they are young and tender,” their July 2026 guidance reads — but the underlying message is clear: manage heat stress or lose your crop (USU Extension).
The good news? A few strategic adjustments can mean the difference between a garden that withers and one that produces abundantly all summer long. Whether you’re managing outdoor beds or a greenhouse, this guide covers everything you need.
1. Water Smarter, Not Harder
When temperatures soar past 90°F, watering becomes both the most important task and the easiest one to get wrong. The key isn’t more water — it’s better water timing and delivery.
Water Early — and We Mean Early
The optimal watering window is between 6:00 AM and 10:00 AM. Watering at midday means losing a significant percentage to evaporation before it reaches the roots. Evening watering can work, but it leaves foliage damp overnight, inviting fungal diseases. Morning watering gives plants what they need before the heat peaks and gives leaves time to dry.
Go Deep, Not Frequent
Established plants benefit far more from deep, infrequent watering than daily sprinkles. Aim for 1 to 1.5 inches of water per week delivered in one or two sessions. This encourages roots to grow downward where soil stays cooler and moisture lasts longer. Shallow, frequent watering trains roots to stay near the surface — exactly where they’ll bake in a heatwave (Lawn Care Center).
Check Before You Water
Use a moisture meter or simply dig a few inches into the soil with your finger. If it’s damp two inches down, hold off. Overwatering in heat can be just as damaging as underwatering — saturated soil lacks oxygen and can literally cook roots.
Drip Irrigation and Soaker Hoses Win Summer
If you don’t already have drip irrigation or soaker hoses, July is the month to invest. They deliver water directly to the root zone with minimal evaporation loss. Overhead sprinklers can lose 30% or more to evaporation on hot, windy days.
2. Shade: Your Garden’s Best Friend
Reducing light intensity is one of the most underutilized heat-management tools. Even sun-loving plants like tomatoes and peppers can suffer from sunscald when temperatures climb too high.
Shade Cloth: The MVP of Heatwaves
Shade cloth — available in densities from 30% to 70% — can reduce temperatures underneath by 10°F or more. For vegetables, 30% to 40% shade cloth is usually ideal: it cuts enough light to lower stress without stunting growth. Drape it over hoops, stakes, or a simple frame. Even a few hours of afternoon shade can prevent heat damage to sensitive crops (High Plains Journal).
Move Containers into the Shade
One advantage of container gardening: mobility. Pots heat up much faster than in-ground soil. On days above 95°F, moving container plants into partial shade — even for the afternoon — can save them from heat stress. This is especially important for leafy greens and herbs, which bolt quickly in extreme heat.
Strategic Planting for Natural Shade
Plant tall, heat-tolerant crops (like corn, sunflowers, or okra) on the west side of your garden to cast afternoon shade on more sensitive plants. This is a low-tech, zero-cost strategy that mimics nature’s own heat management.
3. Mulch Like Your Garden Depends on It (Because It Does)
Bare soil in July is a recipe for disaster. Unprotected soil can reach temperatures 20°F to 30°F hotter than mulched soil. A 2- to 3-inch layer of organic mulch — straw, wood chips, shredded leaves, or grass clippings — acts like insulation for the root zone.
- Straw: Excellent for vegetable gardens; lightweight and easy to apply
- Wood chips: Best for perennials and shrubs; breaks down slowly
- Grass clippings: Free and nitrogen-rich — but apply in thin layers to avoid matting
- Shredded leaves: Ideal if you have them; they mimic a forest floor
Mulch also suppresses weeds — which compete for water exactly when your plants can least afford it — and slows evaporation from the soil surface.
4. Heat-Tolerant Plants That Laugh at July
If your garden took a hit this summer, the fix isn’t planting the same crops next year and hoping for cooler weather. It’s planting smarter. Here are crops that thrive when the mercury climbs (Park Seed; Gardenary):
| Vegetables | Herbs | Flowers |
|---|---|---|
| Okra | Basil | Marigolds |
| Sweet Potatoes | Rosemary | Zinnias |
| Southern Peas (Cowpeas) | Thyme | Coneflowers (Echinacea) |
| Eggplant | Oregano | Salvia |
| Malabar Spinach | Sage | Lantana |
| Swiss Chard | Lavender | Portulaca (Moss Rose) |
For beginners especially, basil and marigolds are the easiest entry points. Both grow quickly from seed, tolerate heat and some drought, and reward you fast.
For tomatoes, look for drought-resistant varieties like Roma, San Marzano, and Black Krim — but note that even heat-tolerant tomatoes may stop setting fruit above 85°F. The plant will survive; it just pauses production until temperatures moderate (Earth911).
5. Greenhouse Heat Management: A Different Ballgame
Greenhouses amplify heat. On a 90°F day, an unventilated greenhouse can hit 130°F or higher within hours. If you’re growing in a greenhouse this summer, passive management isn’t optional — it’s urgent.
Maximize Ventilation
Open every vent, door, and window first thing in the morning. If your greenhouse has roof vents, keep them fully open. For roll-up side panels, drop them early. The goal is to create cross-ventilation — air moving in one side and out the other. Stagnant air is the enemy (UbiGro).
Shade Cloth on the Greenhouse
Exterior shade cloth is more effective than interior because it blocks solar radiation before it enters the structure. A 50% shade cloth on the greenhouse exterior can drop internal temperatures by 10°F to 15°F. Install it on the south and west sides — the angles where the summer sun hits hardest (Frame It All).
Evaporative Cooling: Wet Walls and Misting
Wetting down greenhouse floors, benches, and walls in the morning creates evaporative cooling as the water transitions to vapor — pulling heat from the air in the process. For more serious cooling, misting systems and evaporative cooling pads can transform a stifling greenhouse into a comfortable growing environment.
Plants Cool Themselves — Help Them
Plants naturally cool their surroundings through transpiration — releasing water vapor through their leaves. Well-watered plants in a greenhouse actually contribute to a cooler microclimate. This is one more reason to keep greenhouse plants properly hydrated during heatwaves (Growing Spaces).
6. July Greenhouse Planting: What to Sow Now
Yes, you can plant in July. In fact, the heat promotes ultra-fast germination — sometimes less than 48 hours for beans. July is ideal for sowing green beans, radishes, arugula, and starting autumn lettuce seedlings in the greenhouse (AtmoSerre).
- Green beans: Bush varieties mature in 50–60 days — you’ll harvest by early September
- Radishes: Ready in 25–30 days; succession-plant every two weeks
- Arugula: Bolt-resistant varieties handle greenhouse heat surprisingly well
- Fall lettuce starts: Sow now in trays inside the greenhouse for transplanting when temperatures ease in late August
7. Recognizing Heat Stress Before It’s Too Late
Catching heat stress early lets you intervene before permanent damage sets in. Watch for these signs:
- Wilting during the heat of the day — normal if plants recover by evening; concerning if they don’t
- Leaf scorch — brown, crispy edges on leaves
- Blossom drop — flowers form but fall off without setting fruit (common in tomatoes, peppers, beans)
- Sunscald on fruit — pale, leathery patches on tomatoes, peppers, and squash
- Bolting — leafy greens and herbs suddenly shooting up flower stalks
Plants wilting in afternoon heat but recovering overnight are doing what they’re supposed to — it’s a natural defense mechanism that reduces leaf surface area exposed to the sun. But if they’re still wilted at sunrise, water immediately and provide shade.
The Bottom Line
Extreme summer heat doesn’t have to mean the end of your garden. With smart watering (early morning, deep, and infrequent), strategic shade (cloth, containers, tall companion plants), generous mulch, heat-tolerant varieties, and active greenhouse ventilation, your garden can not only survive July — it can keep producing well into fall.
The most important step? Start tomorrow morning. Water deeply before the sun climbs high, and get that shade cloth up. Your plants will thank you.
Further Reading on Garden & Greenhouse
- Greenhouse Maintenance Tips from Plumbers — smart watering system insights
- 4 Ways to Drought-Proof Your Lawn This Summer — companion strategies for the rest of your yard
- Strawberry Plants: A Complete Guide to Growing Delicious Strawberries at Home — keep your berry patch thriving through summer

Tips on Using a Strimmer Effectively

Organize and Store Your Seeds Right to Keep Them in Perfect Condition

The Danger Of Leaving Rotten Trees In Your Yard

How to Efficiently Clean Your House

Does Landscaping Increase Property Value?

How to Winterize a Greenhouse Before the First Frost: The 2026 Checklist

How to Protect Your Garden and Greenhouse from Extreme Summer Heat: The Complete 2026 Survival Guide

Pruning Machines: How Professional Equipment Is Transforming Vegetation Management

Roof Leak Repair: 7 Signs Your Roof Needs Immediate Attention

The Best Tile Materials for Installation in Seattle: Tips from TK Tile

A Sustainable Wood Substitute: Hemp-Based Lumber

Preventing Pest Infestations in a Greenhouse

Hardening Off Your Seedlings

Starting Seeds Indoors or in a Greenhouse
